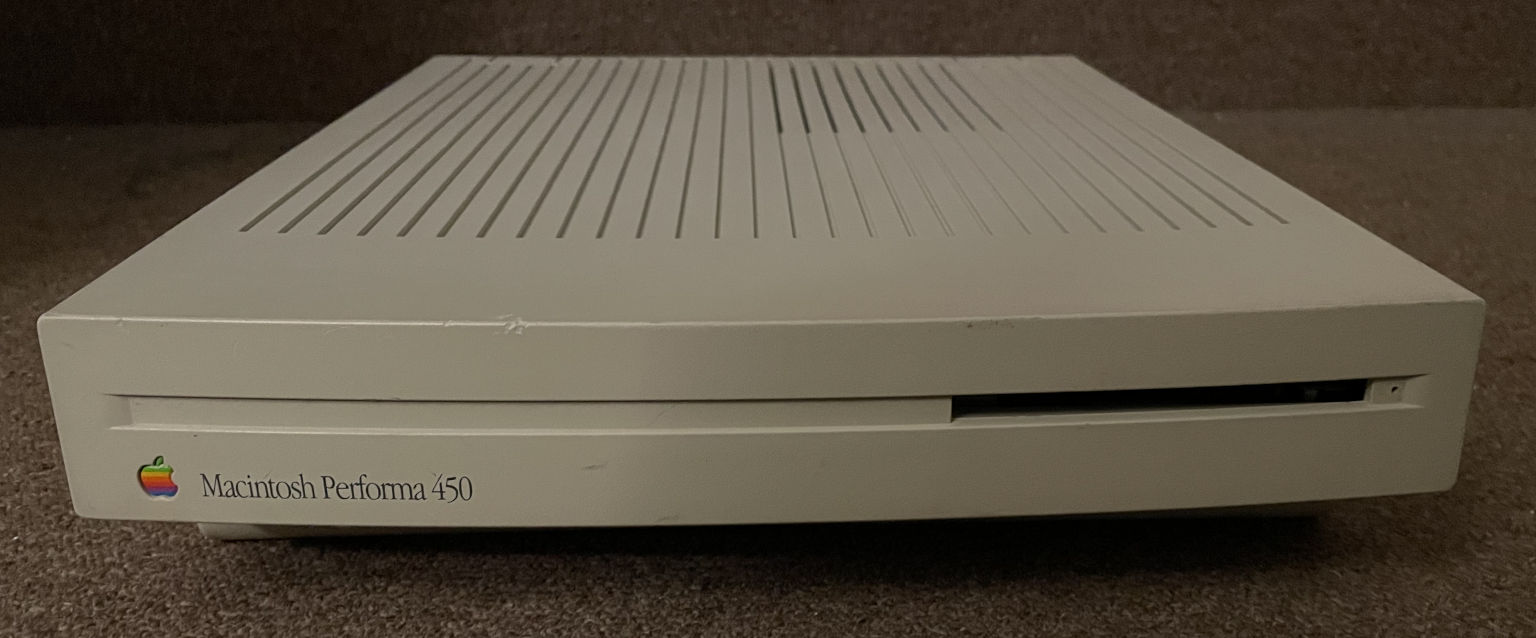
Yesterday, for the first time in about a year, I tried powering on the Macintosh Performa 450 (LC III) from my past writeup about Apple’s backwards capacitor.
It didn’t work. The screen was black, it played the startup sound, and then immediately followed up with the “Chimes of Death”. Nothing else happened from that point on. Here’s what it sounded like:
This was a little frustrating because last year I had already replaced all of the capacitors and cleaned where they had leaked, so I didn’t expect to encounter any problems with it so soon. The machine had worked fine the last time I’d tried it! But despite all that, something was failing during the power-on tests in Apple’s ROM, prompting it to play the chimes of death. I remembered that people have been working towards documenting the Mac ROM startup tests and using them to diagnose problems, so I decided to give it a shot and see if Apple’s Serial Test Manager could identify my Performa’s issue. Where was the fault on this complicated board? Sure, I could test a zillion traces by hand, but why bother when the computer already knows what is wrong?
I hooked up the Mac’s RS-422 modem port to my computer’s RS-232 serial port using a couple of adapter cables to convert from Mini-DIN-8 to DB-25 and then DB-25 to DE-9. Next I opened up PuTTY, configured the serial port on my PC for 9600 baud, 8 data bits, no parity, and 2 stop bits (8N2), and tried typing the command to put the Serial Test Manager into ASCII mode:
*A
It echoed the command back to me, so it was working! Next, I typed the command to return the status:
*R
It printed this back to me:
2F1E122B0003*R
According to the documentation I linked earlier, this result shows that the status register contained the value 0x2F1E122B and the major error code was 0x0003. Error code 3 means RAM Bank A failure. The 0x2F1E122B seemed like gibberish, but I thought it was supposed to be a bitmask of bad bits. I later figured out that the value in the status register is always junk after the chimes of death play, because the code that plays the sound overwrites it.
The RAM test definitely knew which part of the RAM was failing though. I just needed it to give me all of the details. So I manually ran a test over a small range of RAM addresses:
*4
*000001000
*100002000
*T000200010001
What these commands do according to the documentation:
- *4 clears the result of any previous test
- *0 sets the value of register A0, containing the start address of the test. I set it to 0x00001000.
- *1 sets the value of register A1 for the end address of the test. I set it to 0x00002000.
- *T runs a “critical test”. 0x0002 is the test (mod3 RAM test), the first 0x0001 is the number of times the test will run, and the second 0x0001 contains option flags.
Here is the printout I got back from the Mac when I ran these commands:
*4
*0
*1
*ERROR**T
This was actually really good news! It accepted the first three commands, and then the RAM test failed. This was consistent with what I expected to see. I tried to display the results again, hopeful that this time the status register would contain useful info about the failed RAM.
*R
It happily printed this back:
000008000000*R
Yay! This meant the status register was 0x00000800. The status register value showed which bit(s) in the RAM were acting up. In other words, the test was telling me that bit 11 was the problem.
I didn’t have a RAM SIMM installed, so the problem was clearly with the 4 MB of onboard memory. It was very doubtful that a RAM chip had just randomly gone bad since the last time I’d powered up this machine. More likely, the leaked capacitor goo had eaten away another trace over time because I hadn’t cleaned the board well enough. I grabbed my multimeter and checked the continuity of D11 between the RAM chip and various other components on the board. Luckily, Bomarc reverse-engineered the LC III logic board a while ago and their schematics are floating around on the internet these days.
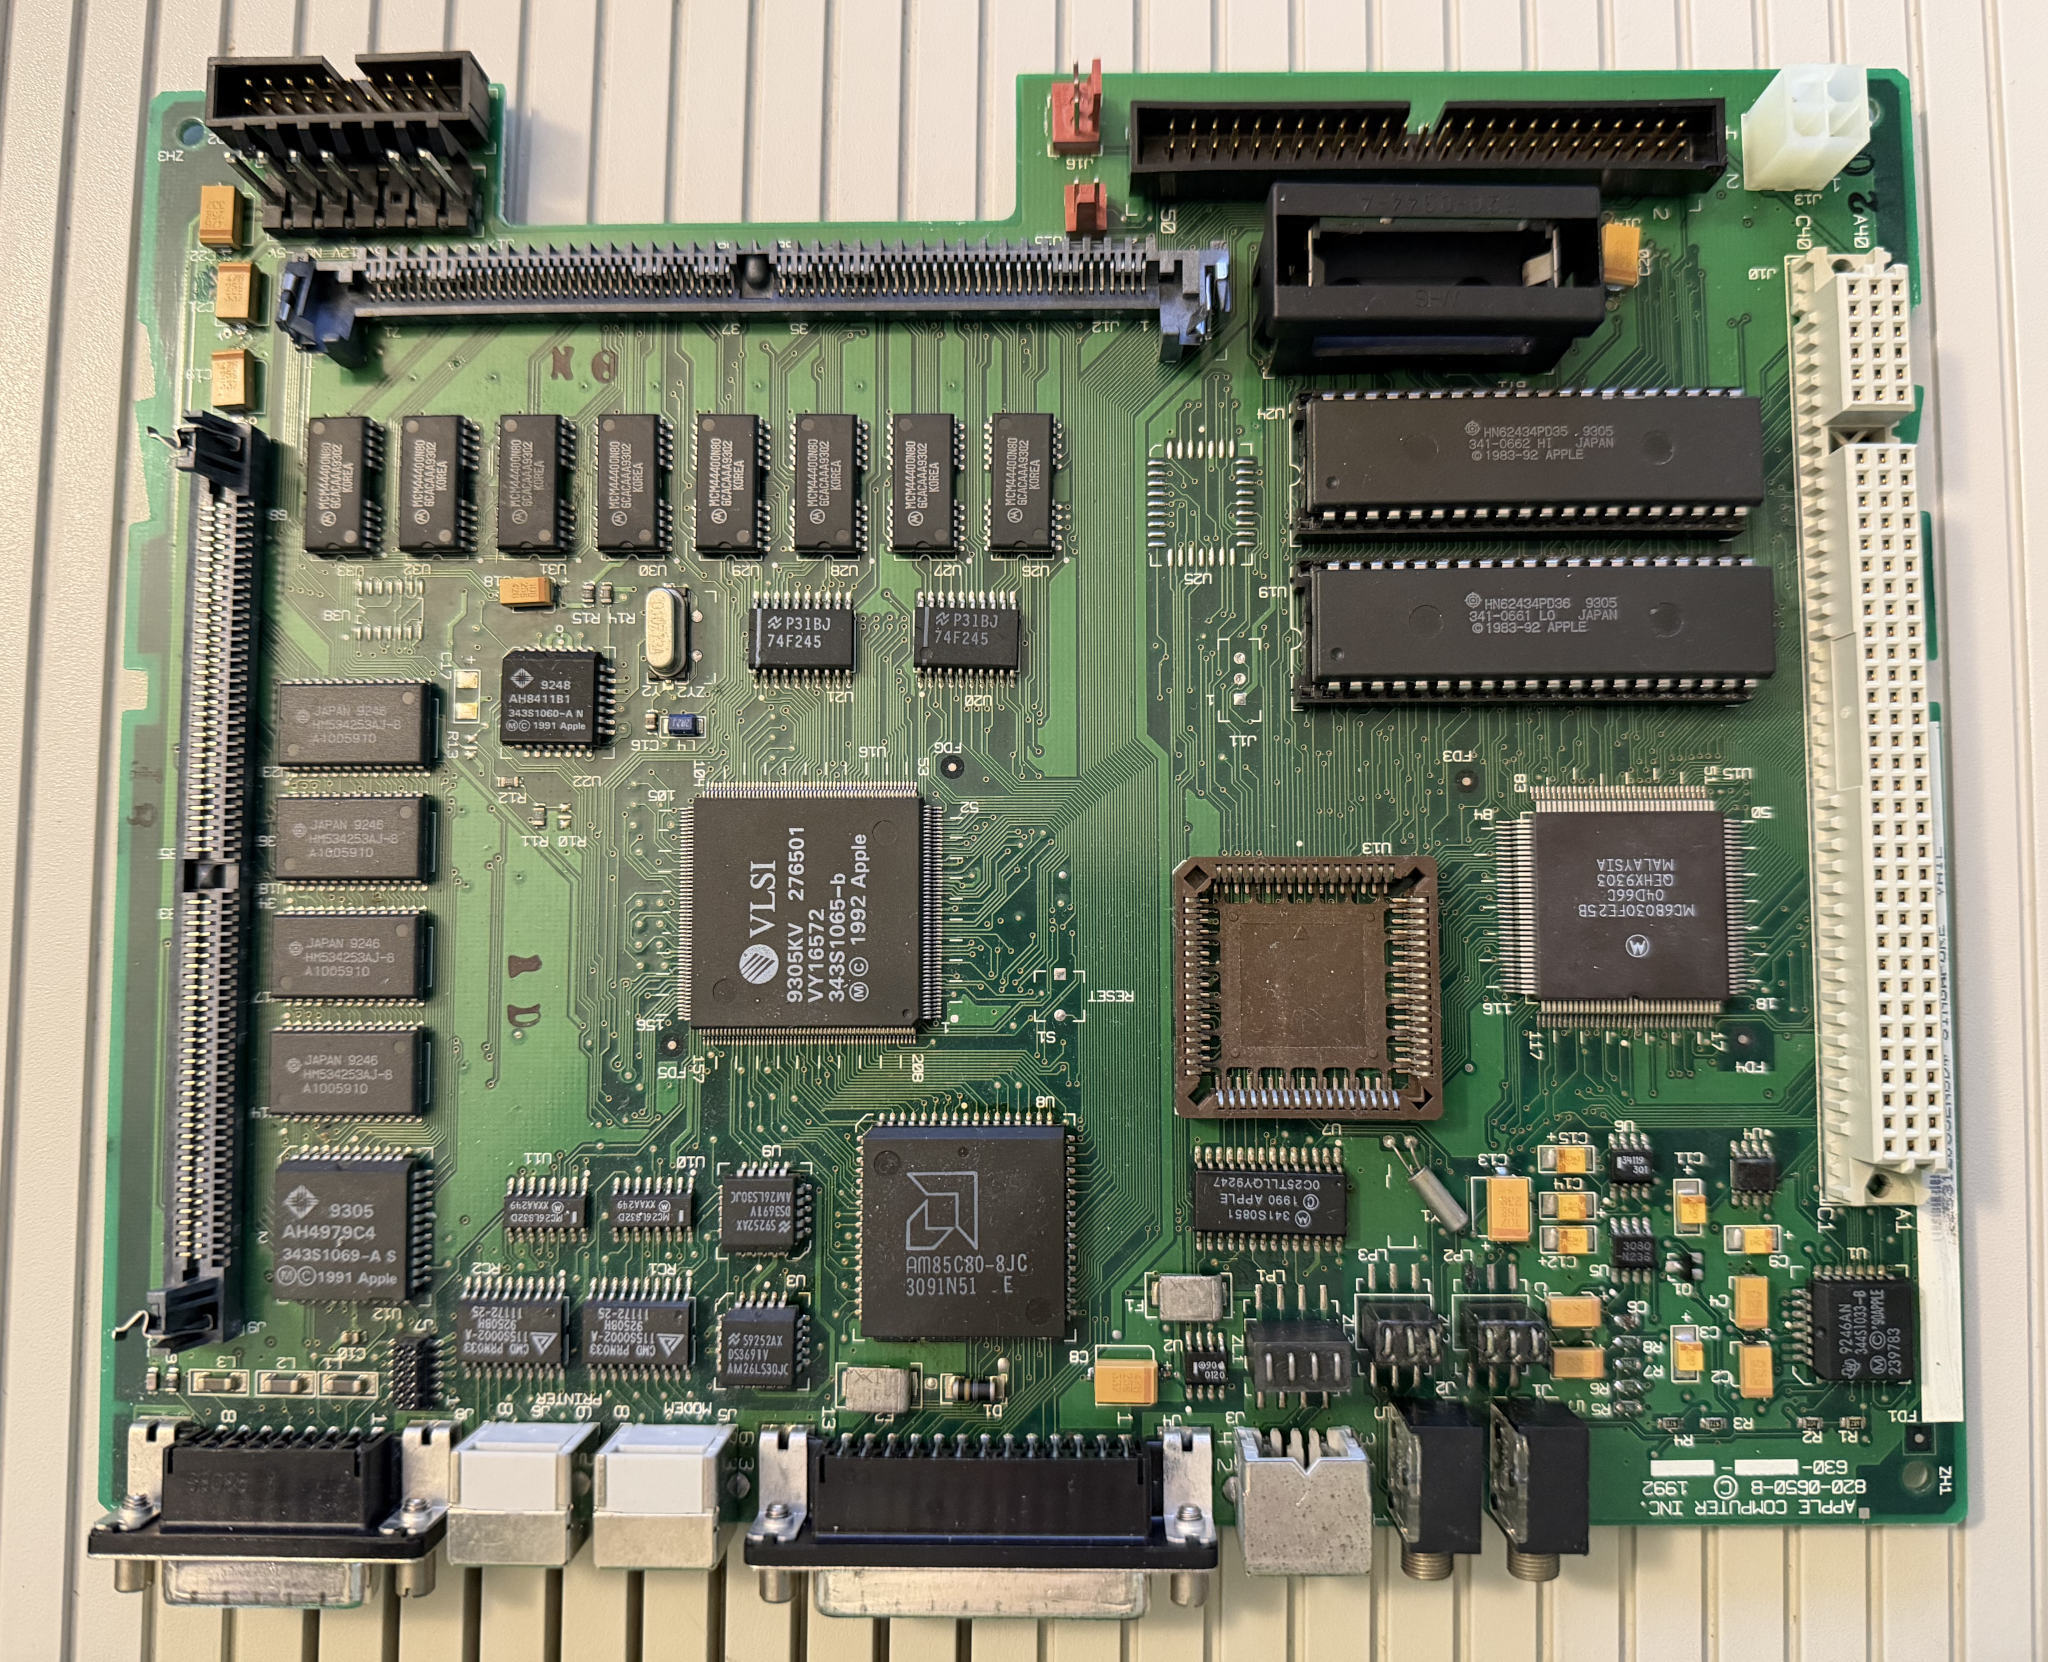
The schematics indicate that onboard RAM data bit 11 is supplied by U28, pin 25. It’s hooked directly to the CPU’s data bus, which goes to the RAM SIMM slot, the CPU itself, an optional FPU, the PDS slot, one of the ROM chips (U19), and other random chips on the board.
Thanks to max1zzz’s LC III Reloaded replica of the LC III logic board, I was easily able to follow the traces and verify where things were hooked up. Sometimes Bomarc’s schematics can be a little iffy, so it’s always good to double check them.
I confirmed that U28 pin 25 had a connection to the RAM SIMM socket right next to it (pin 55), but it wasn’t connected to anything else. The ROM chip U19 was the easiest to test against. I also checked that other nearby data lines did indeed have good continuity between the RAM and ROM, so it was just this one data line that was bad. This all made sense and was consistent with the RAM test results. There was definitely a broken trace somewhere. Following along with max1zzz’s replica board Gerber files, I had a pretty good idea of where the damage was: a cluster of tiny vias near where an electrolytic capacitor had badly leaked. Several of these vias look pretty icky. Also, please ignore my terrible alignment on the replacement tantalum cap.
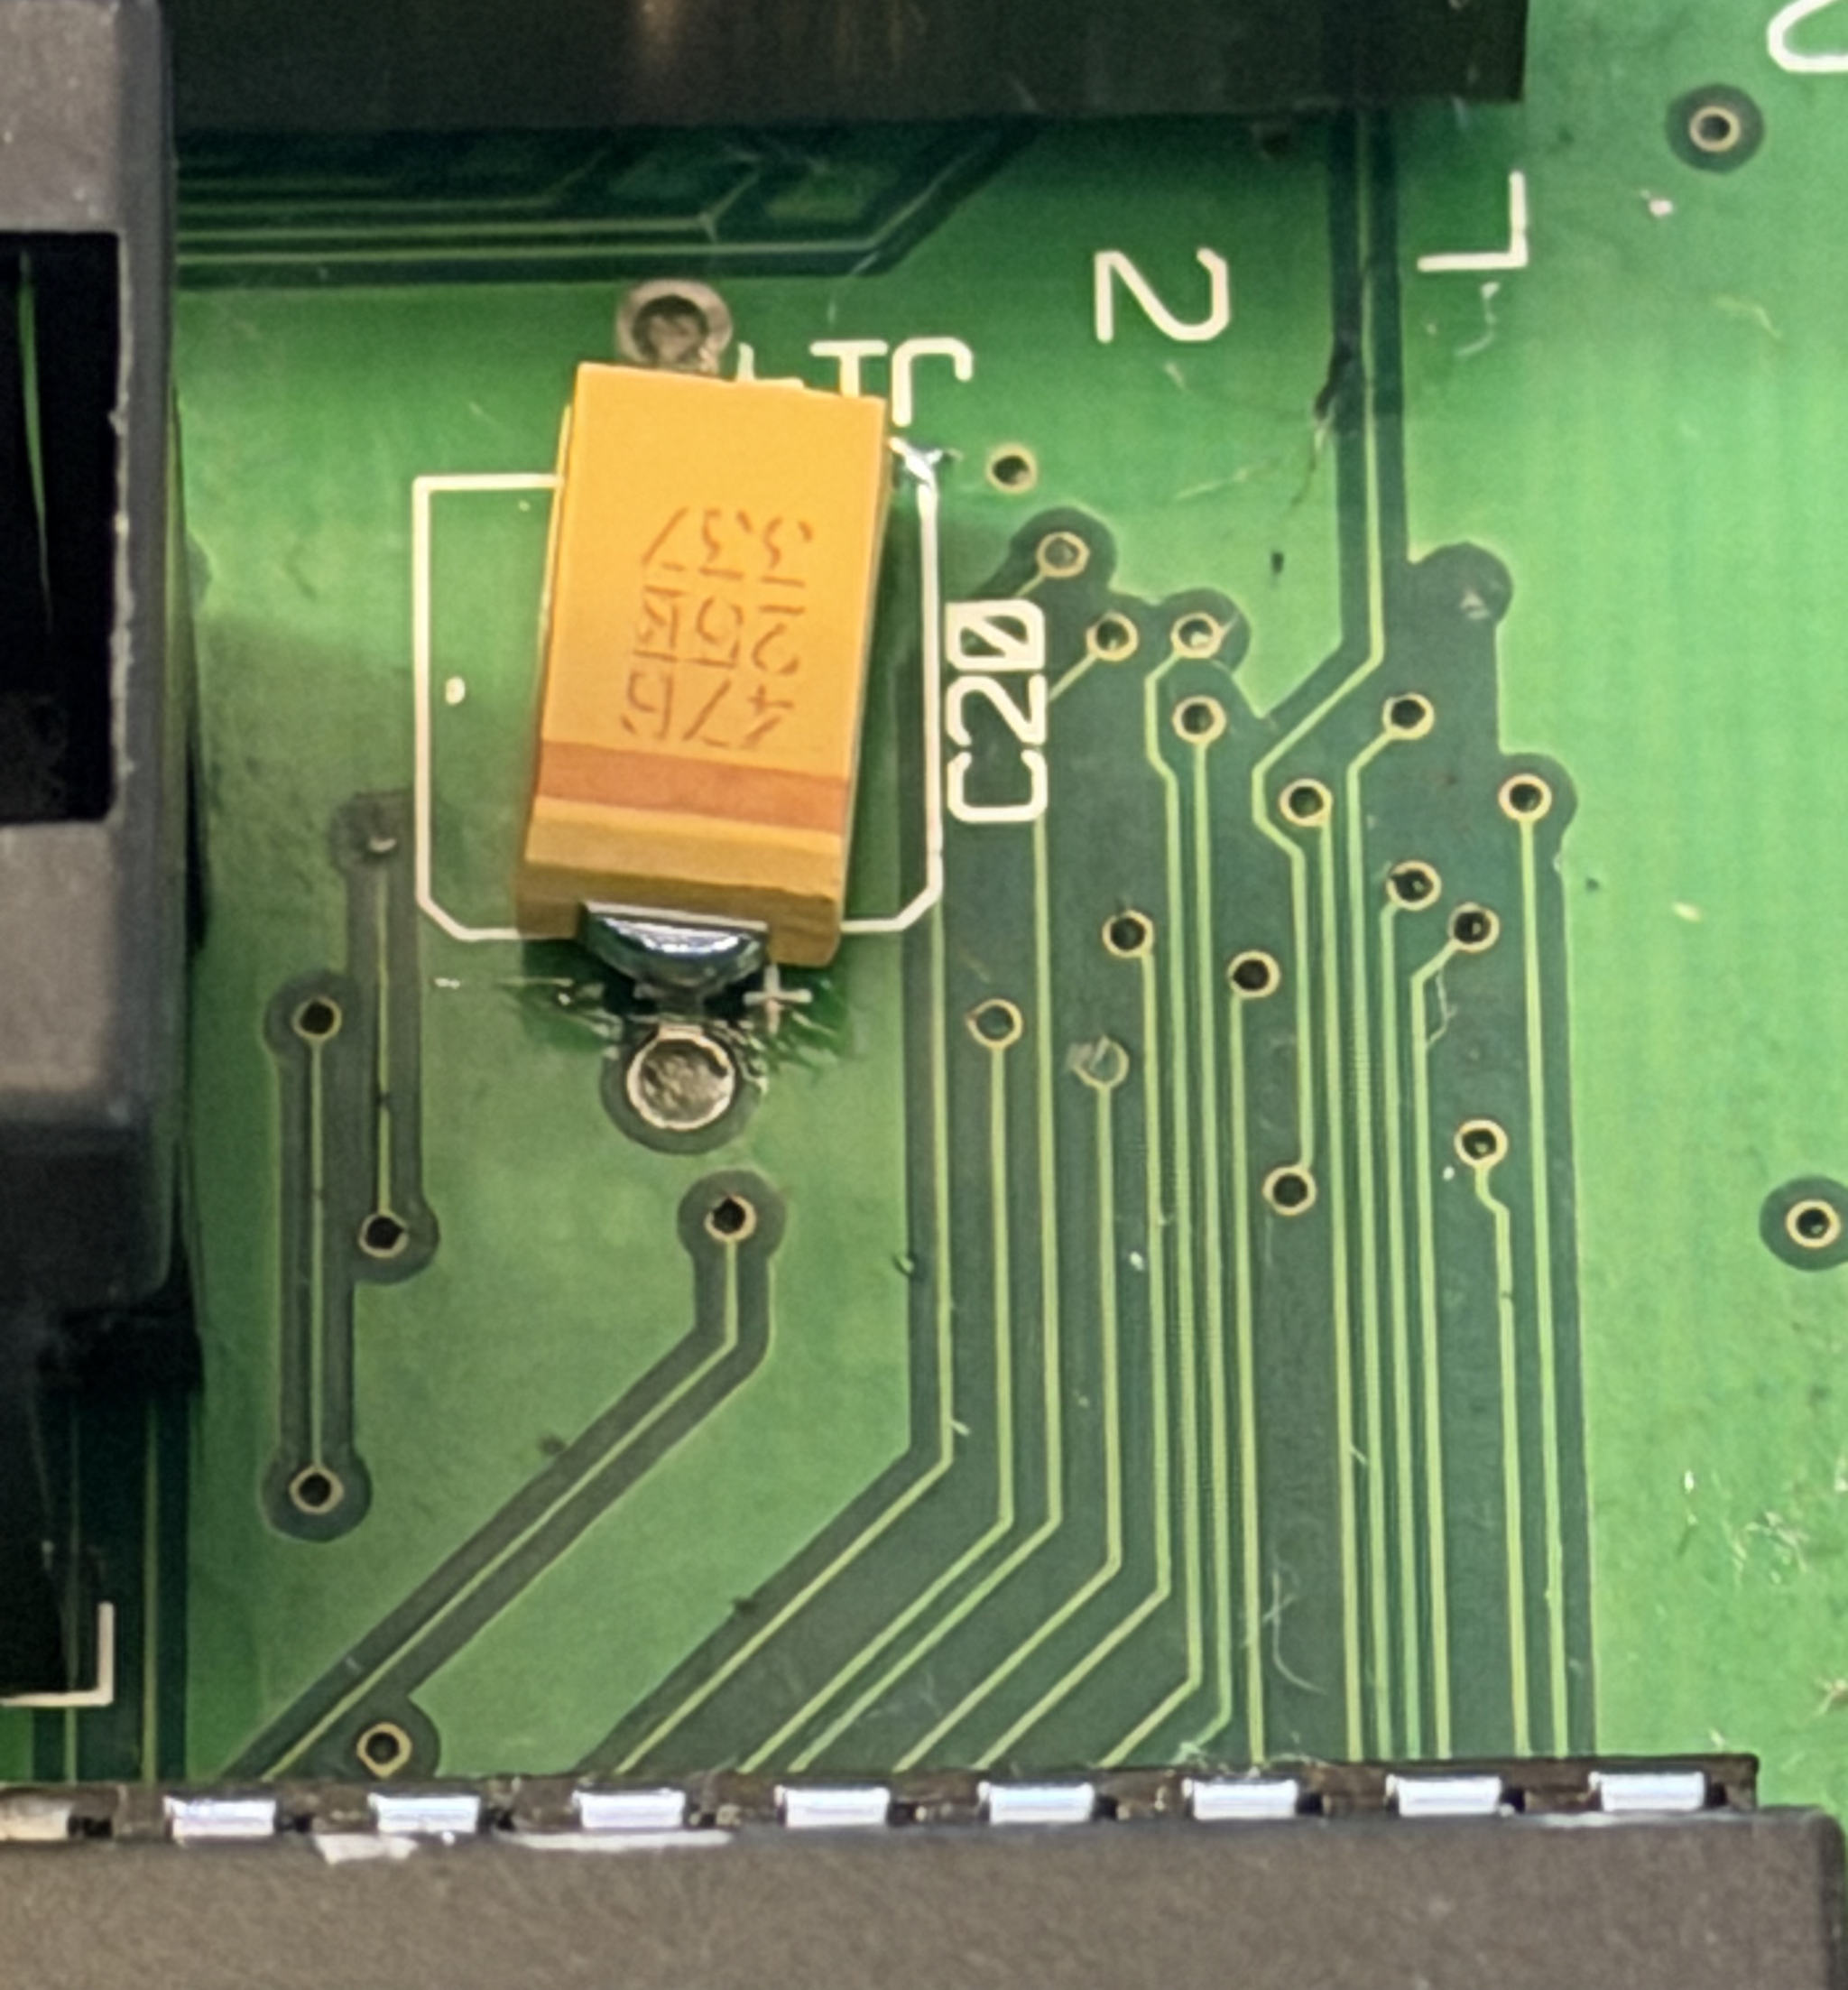
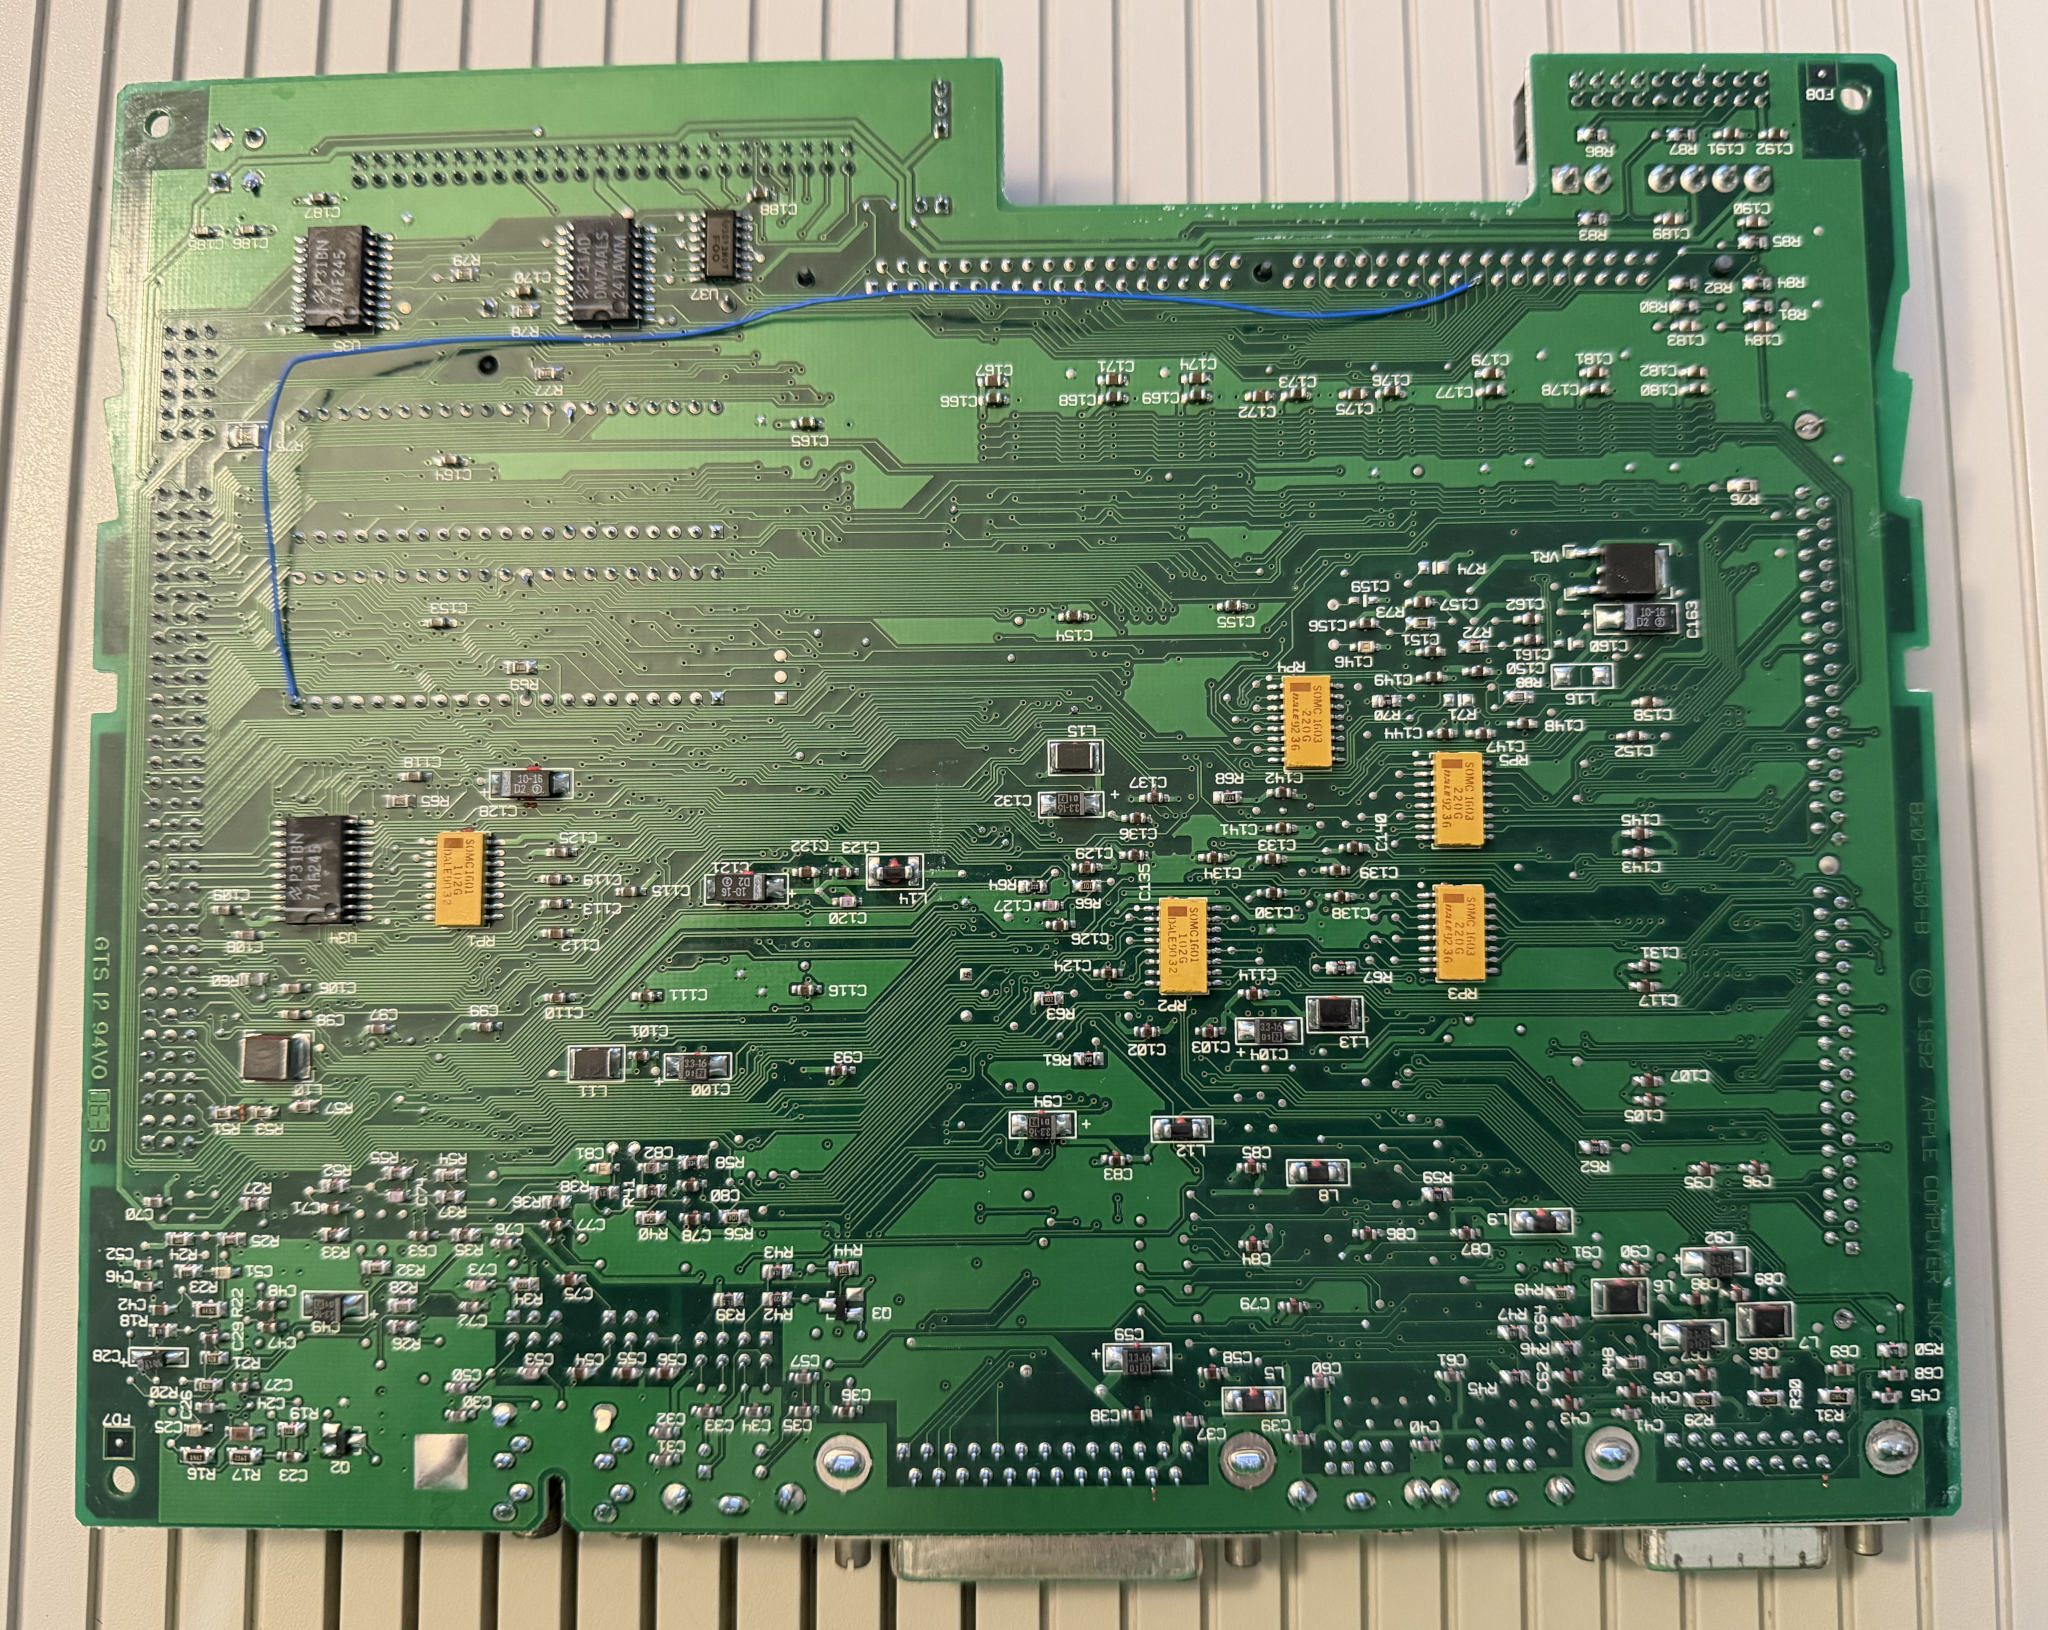
I was in a hurry to get this Performa running again. Instead of trying to repair the bad trace/via, I opted for a quick bodge wire on the bottom of the board between pin 55 of the RAM SIMM socket and pin 21 of the relevant ROM socket (U19). That was easier than trying to repair a tiny via. I might experiment more with via repair in the future, though!
With the bodge wire in place, my Performa 450 is alive once again! For now, anyway. My board probably still has some issues. That’s the tricky thing with capacitor leakage. You might think you’ve cleaned it well, but electrolyte could still be lurking there somewhere, slowly eating away more and more copper. I know some people have had good luck using ultrasonic cleaners, although I hear that they can damage oscillators.
If you’re feeling nostalgic and/or have way too much time on your hands, and you’re comfortable with building MAME from source, you can replicate my successful diagnosis in an emulator using MAME on Linux. Here’s a quick patch I applied to screw up bit 11 of the RAM on the emulated LC III:
diff --git a/src/mame/apple/sonora.cpp b/src/mame/apple/sonora.cpp
index 141e3e9950d..7d07addc29e 100644
--- a/src/mame/apple/sonora.cpp
+++ b/src/mame/apple/sonora.cpp
@@ -191,6 +191,9 @@ u32 sonora_device::rom_switch_r(offs_t offset)
                offs_t memory_mirror = memory_end & ~memory_end;

                space.install_ram(0x00000000, memory_end & ~memory_mirror, memory_mirror, memory_data);
+               space.install_write_tap(0x0000, 0xffff, "faulty_ram", [&](offs_t offset, u32 &data, u32 mem_mask) {
+                       data &= ~0x0800;
+               });
                m_overlay = false;
        }
Then, you can run MAME with this command:
./mame maclc3 -window -nomaximize -printer pty
This allocates a pseudo terminal that acts as the serial port. You may notice that I included -printer instead of -modem in the command, even though the physical port I used is definitely the modem port. That’s because the current version of MAME as of this writing seems to have them swapped! Sometime in the future when that is fixed, you’ll likely need to correctly type -modem instead.
With my patch applied, running MAME like this should give you the startup sound followed immediately by the error sound. Figure out which pseudo-terminal is linked to the port (it was /dev/pts/1 on my machine) and open it with your favorite serial program, such as minicom. You can now type all the commands I used to diagnose the problem.

Anyway, this was a successful use of Apple’s ROM diagnostics to quickly solve my issue. It was much easier than manually checking continuity of a zillion PCB traces! Back in the day, Apple had a service tool called the TechStep that was capable of performing some of these diagnostics. There’s even a modern clone of it, which happens to also be created by max1zzz. However, I’m not sure exactly how useful this device would have been for service techs other than as a pass/fail indicator. Wasn’t Apple’s policy just to replace full boards, similar to how it is today? Maybe they repaired faulty returned boards and reused them as service part stock. I’m not sure!
By the way, this wasn’t my first successful use of the Serial Test Manager. Earlier this year, I also fixed a Performa 410 (LC II) that was experiencing the Chimes of Death. The failure code was 0x30, indicating an Egret error. Egret is the name of the logic board’s microcontroller that handles the Apple Desktop Bus, battery-backed PRAM, and some power on stuff. After the ROM diagnostics pointed me in that direction, I did a much better job of cleaning the cap leakage around it, and the problem completely went away. So that’s now two times that this cool functionality has helped me.
I’ll talk more about my somewhat special Performa 410 in a future post!


no comments